Latch for the Laz
The J/42 comes with a spacious lazarette, accessed by a hatch behind the wheel. The hatch is held down by a cord threaded through the laz to the cockpit locker, where it is locked in place with a cam cleat.
What this means in practice is that to get something out of the laz, you first have to open up the cockpit locker hatch to release the cord, then remember to set it again when you're done. I hardly ever did that, preferring to just leave the lazarette unlocked. But, if the boat was ever to take a severe roll at a bad time and the hatch flipped open, the boat would be very vulnerable to downflooding. For this reason, I decided to put in a positive closing latch in the hatch.
On the suggestion of Ivan Getting, owner of the J/42 Kittiwake, I checked out Southco, a company located in Worcester, UK, that makes many different kinds of beautiful locking latches. After measuring the thickness of the hatch and the distance to the catch, I settled on a Southco M1 Compression Latch, specifically part number M1-25-82-38. This latch is waterproof, made of 316 stainless, and has the nice feature that when you swing the handle down, it compresses the cam, insuring that the gasket gets compressed and sealed. No more water in the laz!
Lessons learned
The latch turned out very well, but I'm not very pleased with the gelcoat finish. The gelcoat I used is air-inhibited so I had to cover it with waxed paper for it to cure. This makes it difficult to get a nice smooth finish without a lot of tricky sanding. In retrospect, I wish I had used a gel paste: it would not have run as much and doesn't need to be covered.
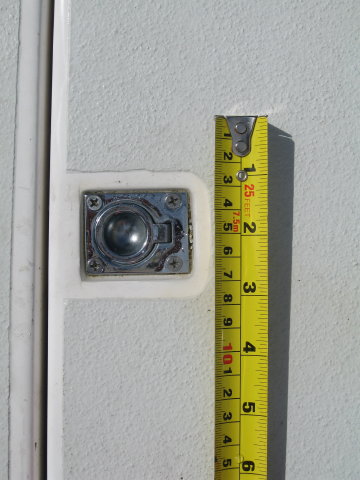
The original pull latch.
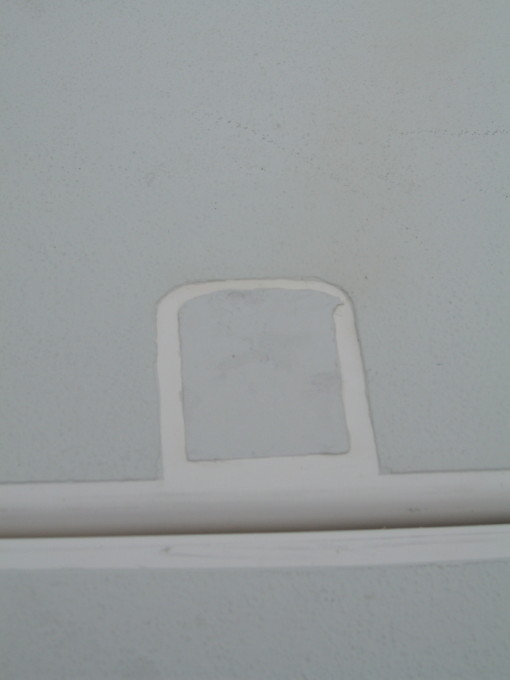
Removing the original latch left a big divot, which I then filled with polyester resin. Unfortunately, I didn't take a picture of this step. This is what it looked like after the resin cured.
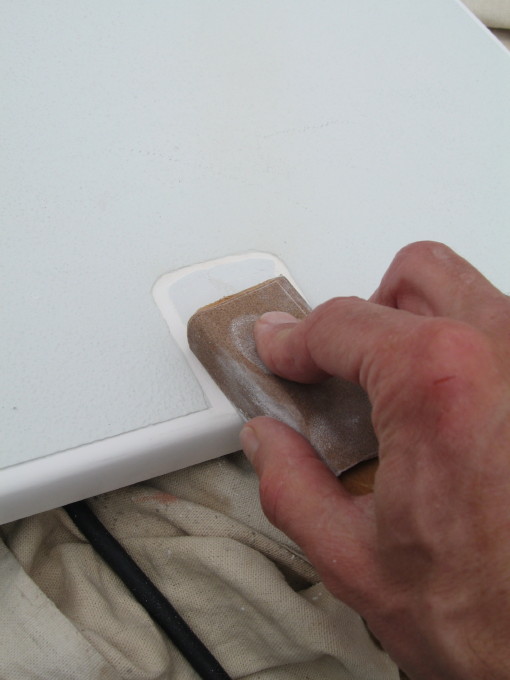
Sanding the filled hole flat.
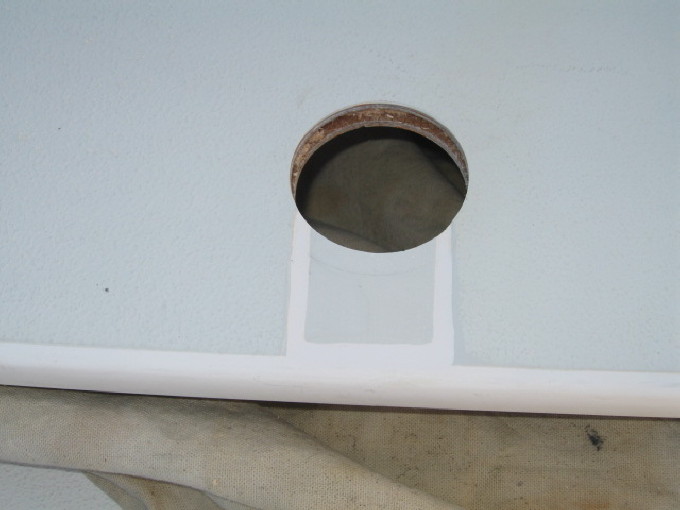
I then drilled a 2 inch hole for the latch. Using a twisted metal rod chucked in a drill, I removed about a half inch of balsa coring on the outboard side of the hole (the inboard side along the edge of the hatch is solid). I then filled this space in with polyester resin (no photo).
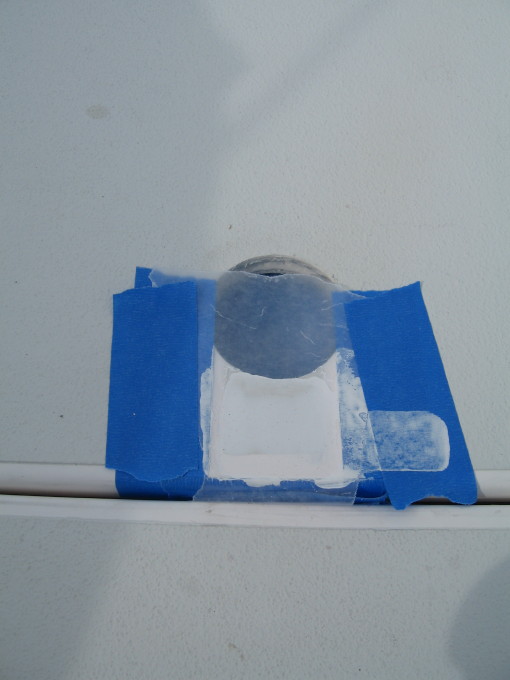
I then painted the surface with white gelcoat. The gelcoat is air-inhibited: the waxed paper is to seal it from air, allowing it to cure fully. In this photo, just above the waxed paper, you can also see the resin used to replace the balsa coring.
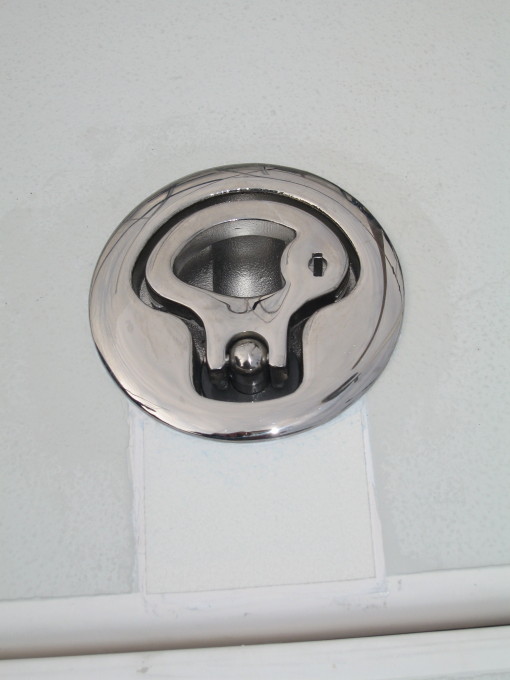
The finished latch. The finish on the gelcoat is not very good, but I'll work on that later!