Cutting a new control panel
I decided to upgrade my stereo system but, between a long-removed VHF and my old stereo, there were already so many holes in the control panel that I risked having it look like swiss cheese when I was done.
So, I decided to cut a new panel and start afresh.
While I was at it, I decided to replace my VHF with an ICOM M504A so I could use their CommandMic and have a speaker and microphone in the cockpit.
The biggest challenge was matching the look of the existing control panel. I couldn't find a piece of ready-made plywood that remotely matched, so I had to laminate my own. I used Winsonart D91-60 "Slate Grey" laminated to 12mm Hydrotek marine plywood. The Wilsonart laminate turned out to be an extremely close match to the color and texture of the original panel.
The original panel had a white laminate on the inside. Rather than buy yet another sheet of laminate, I just used the same color on the inside. You don't have to use laminate, for example, you could paint it with epoxy, but it's important to cover the inside with something to prevent water intrusion and warping.
I started by removing all the instruments from the old panel, then removing the panel from the boat and carefully measuring it. The corners turned out not be completely square, but I decided to start with a true piece and adjust as necessary.
Using a table saw, I cut the marine plywood.
Again, using a table saw, I cut the laminate:
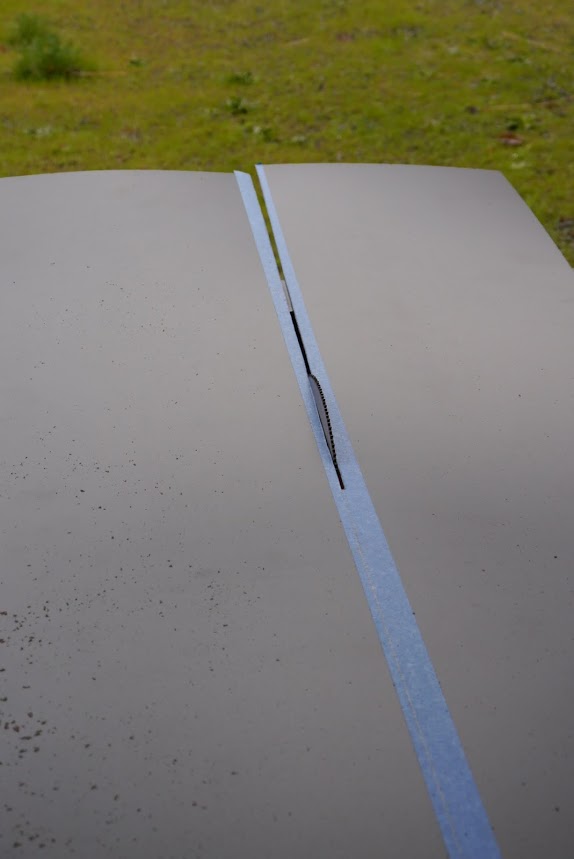
Cutting the laminate on a table saw. I first taped the cut to avoid shattering the laminate. Use a regular plywood blade.
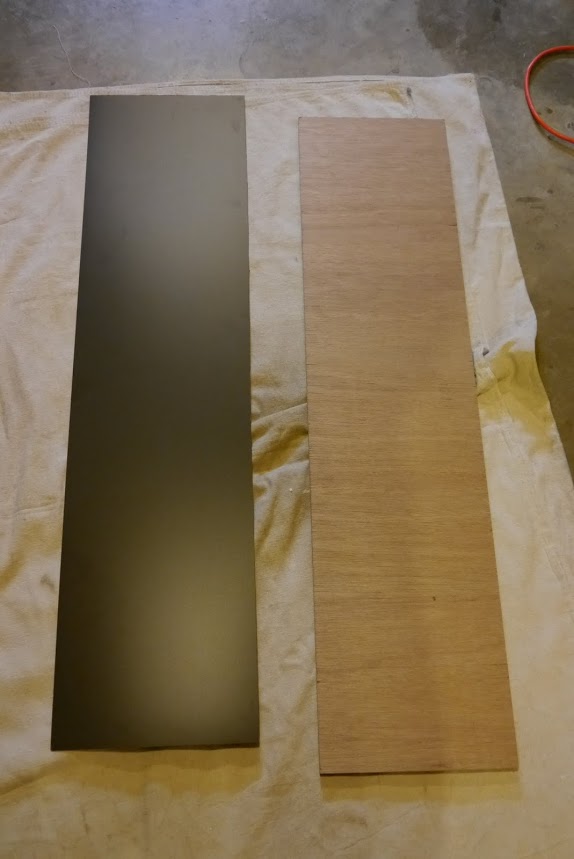
The cut laminate (left) and marine plywood (right). The laminate is about 1/2" bigger in each dimension. The excess is trimmed later.
After cutting the laminate, it's time to brush on contact cement to both the laminate and the marine plywood:
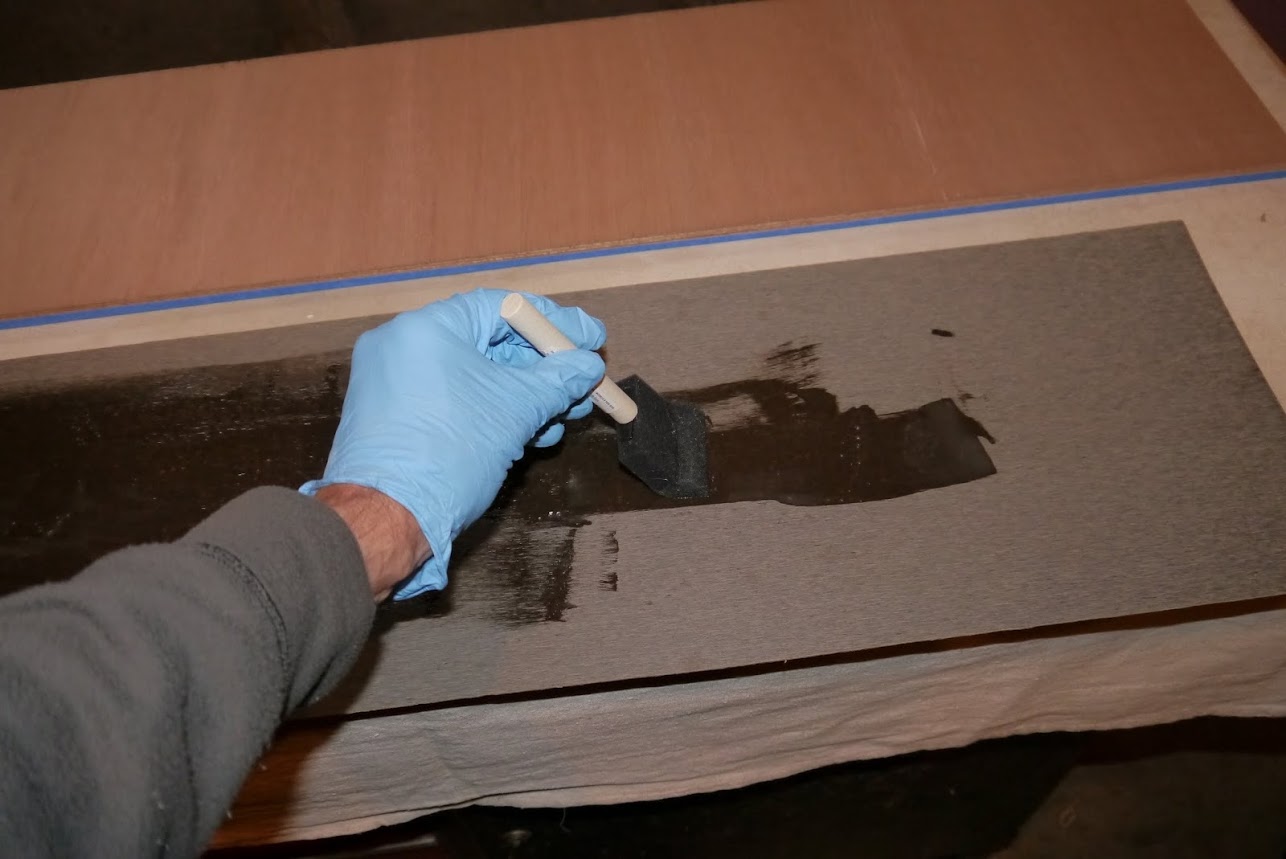
Brushing on the contact cement using a foam brush. The temperature should be at least 65 degrees. I found that because of the cold weather I had to warm the contact cement in some hot water before I could use it. After brushing, wait about 20-30 minutes for the cement to dry.

Lay some dowels on the plywood to prevent the laminate from touching until you've had a chance to position it. I used some bamboo tomato stakes.
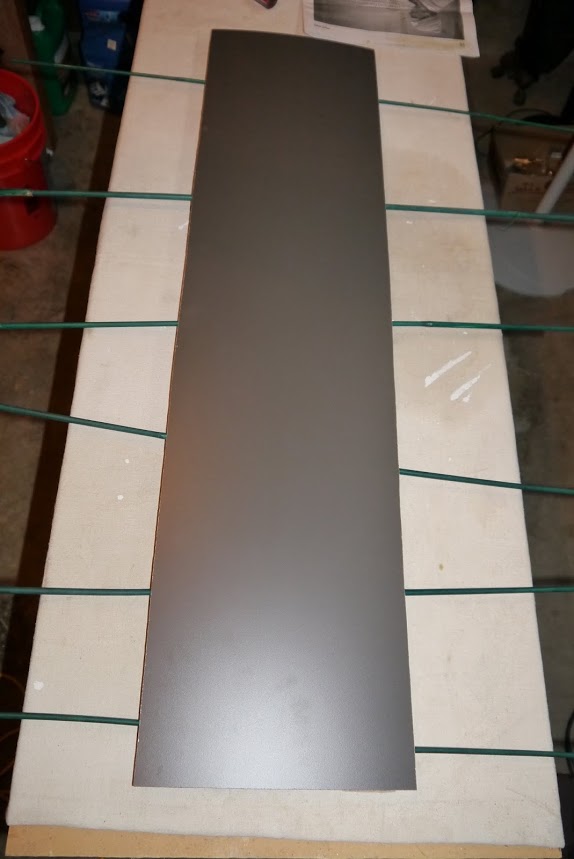
Lay the laminate on the dowels and position it carefully...

Pull the dowels out, one by one, starting in the middle and working towards the ends. Gently press down on the laminate as you go.
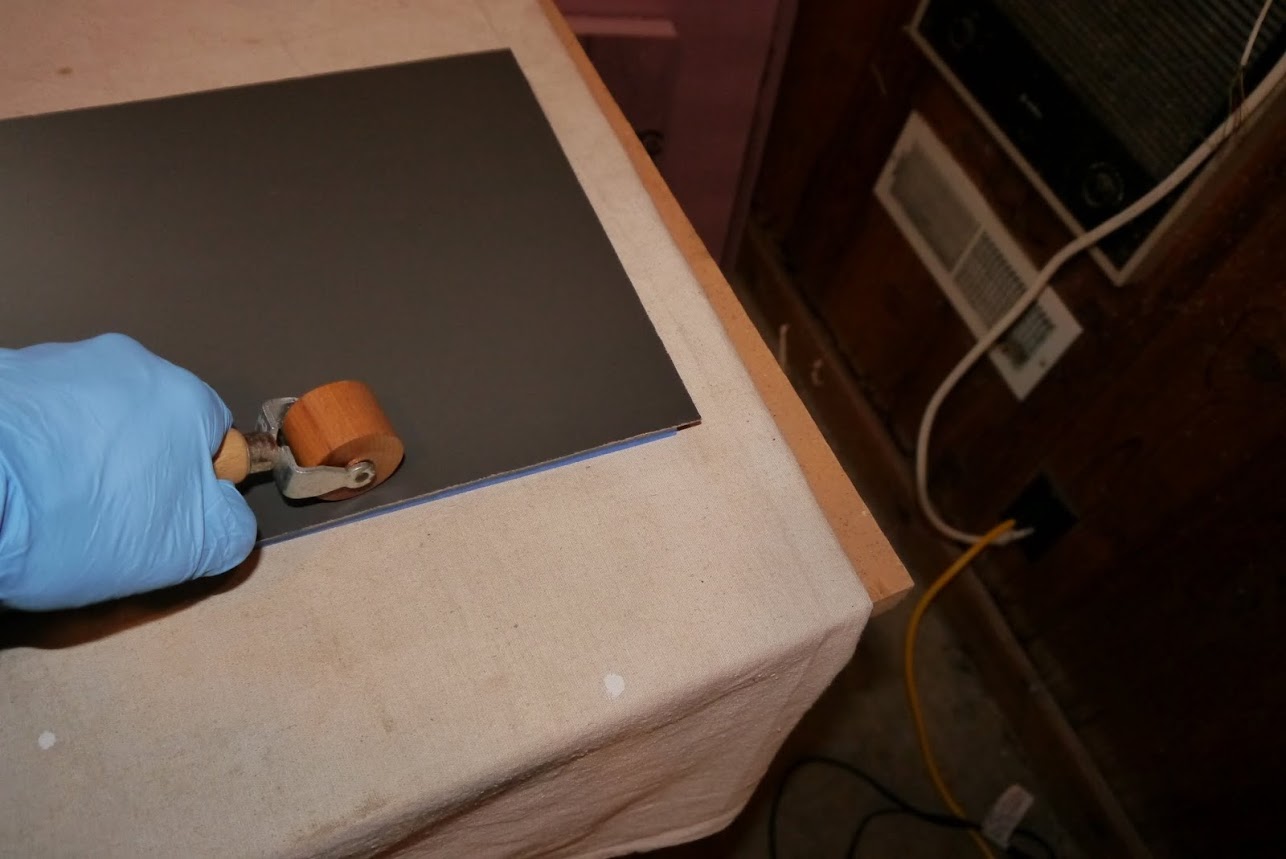
Using a roller, press down on the laminate to get a good seal. Press hard, paying special attention to the edges.
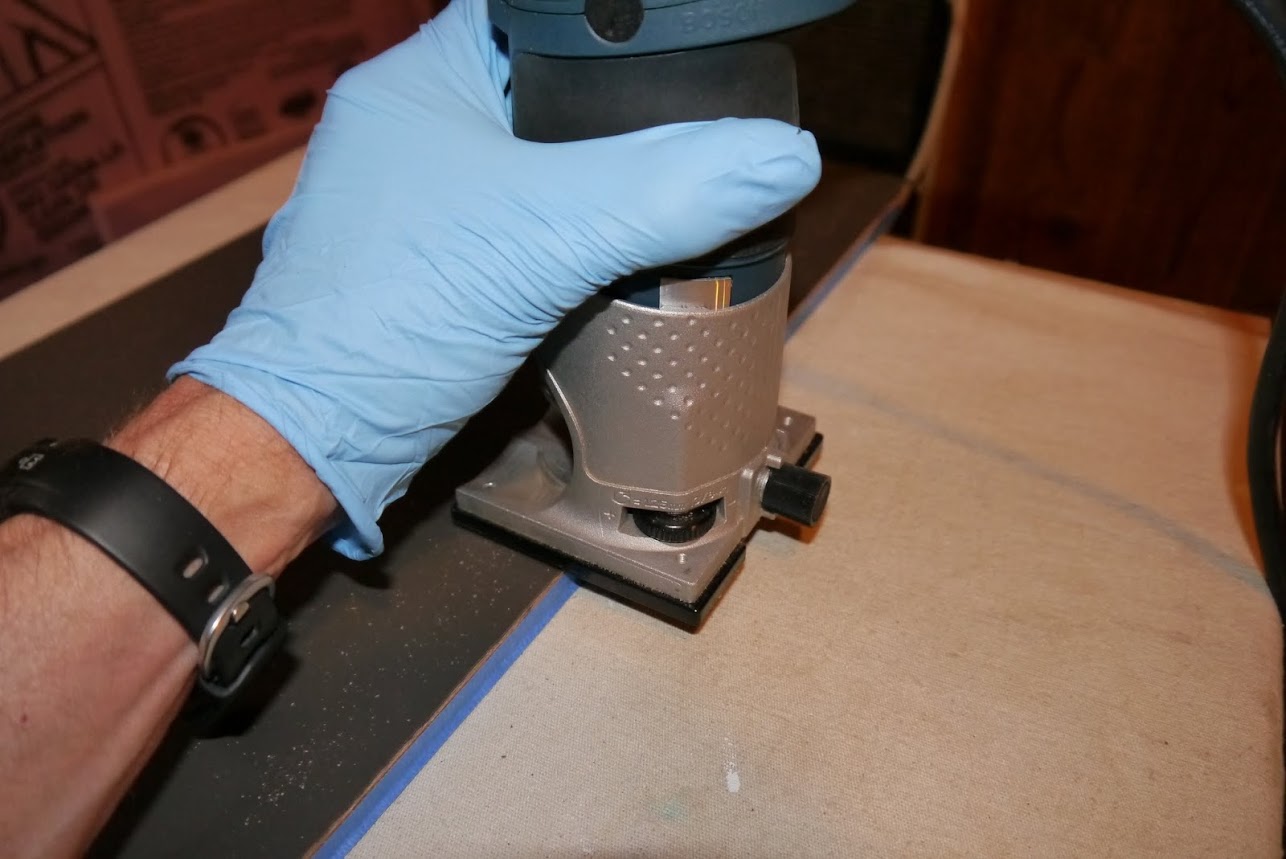
Using a laminate trimmer chucked into a router, trim the edges. .
The old panel (left) and the new (right). The color and texture matched extremely well.
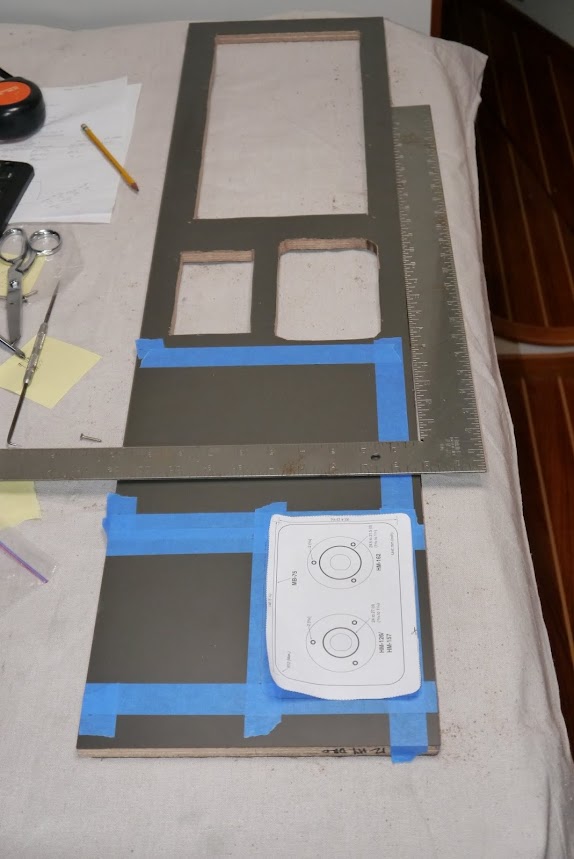
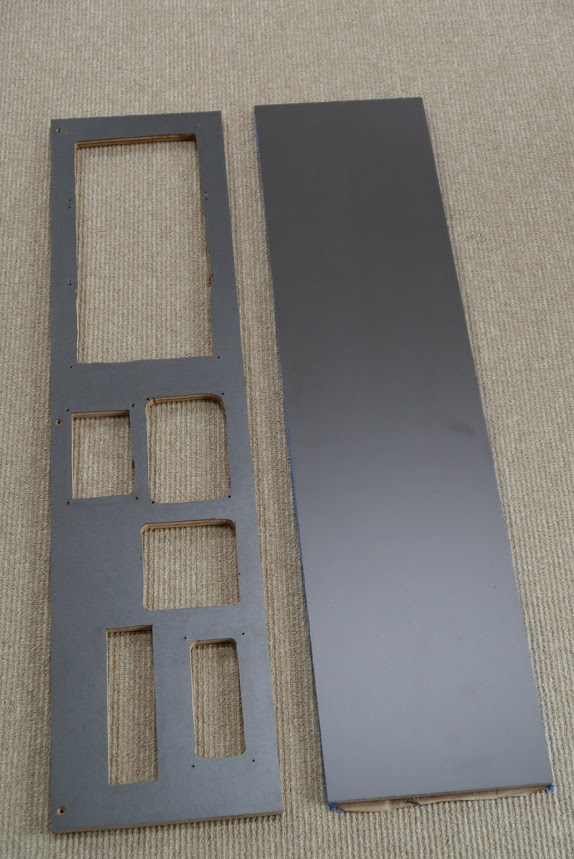
Cutting out the holes for the instrument. That's the template for the new VHF at the bottom. I used a combination of a scroll saw and a Fein MultiMaster to make the holes.
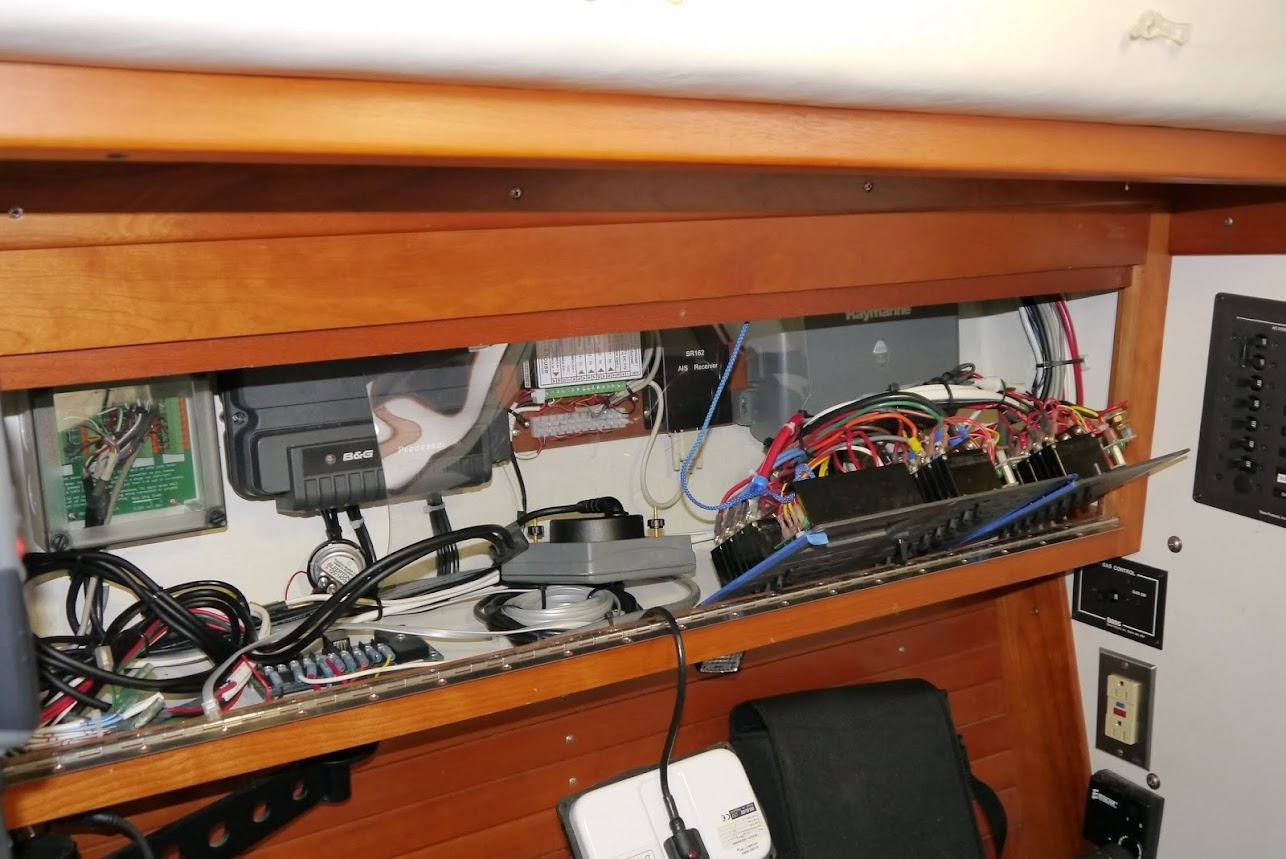
I was able to remove the old panel while disconnecting almost nothing.

The new panel in place. An AIS transponder will eventually go in the empty space on the left when I get around to it.