Rebedding the chainplates
After 10+ years, I decided it was time to rebed the chainplates. They had not been leaking, but I wanted to keep it that way. It turned out not to be a very big job — maybe 10 hours, spread over 3 days.
Materials used
- Calipers
- Box wrench 15/16” to hold the chainplate bolts
- Box wrench 1-1/16” (or a socket) to turn the chainplate nuts.
- Flexible putty knife, about 1-1/2” wide. A little skinnier would be better.
- A piece of monel wire.
- Dremel drill with a 5/16" or 3/8” router attachment.
- Vacuum cleaner
- Acetone
- An endless supply of paper towels not rags, which could spread contaminants. See the article Avoiding Surface Contamination by West Systems.
- A powerful solvent to clean up the old polysulphide caulking. I found the product "Release", from BoatLife, pretty good at this. Citrisolv or some other more"natural" solvent is an alternative.
- West System 105 Epoxy Resin
- West System 205 Fast Hardener
- West System 406 Colloidal Silica
- Tongue depressors (“Popsicle sticks”). Trim the end of one of them so it is about 3/8” wide.
- Blue tape and kraft paper for masking.
- Disposable syringes. The ones offered by West Systems are great, but ridiculously priced. I went to an animal feed store and got the equivalent for 39¢ each!
- Butyl tape. I used "Bed-It" tape from Compass Marine. As an alternative, you can use a polysulfide caulk, such as 3M 101 (if you can find it; they've unfortunately discontinued it), or BoatLife LifeCalk.
Process
Use spinnaker halyards to steady the mast when removing the shrouds. If you only have one spin halyard, use it, plus a jib halyard.
Take the cotter pins out of all the rigging screws.
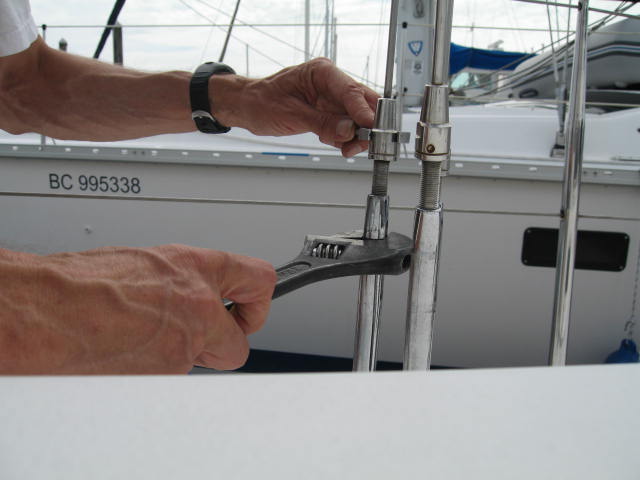
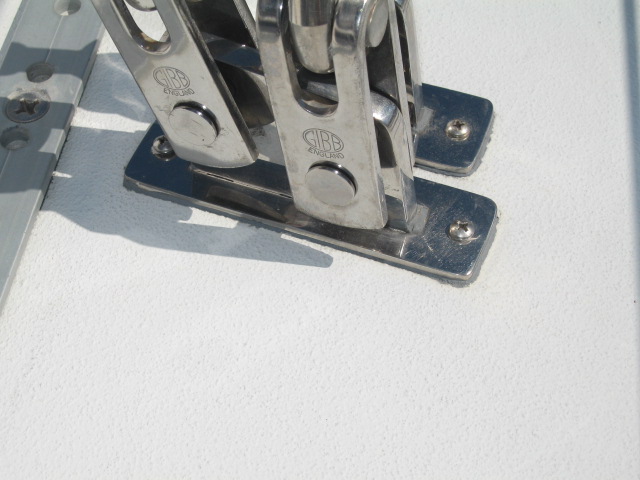
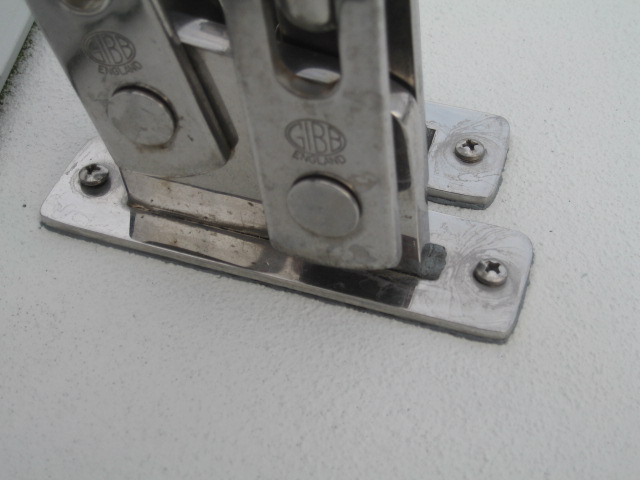
Measure the gap between the studs so you can adjust the screws back in the same position when you're all done (see photo).
Before loosening the rigging screws, measure the gap between the studs. This will make it easy to put them back together in the same position. Alternatively, you could wrap some blue tape at the edge of the turnbuckle body, but when it comes time to clean the screws with mineral spirits you will run the risk of dislodging the tape.
Starting with the cap shrouds, loosen their rigging screws (turning them clockwise looking down loosens on my boat), working on both sides of the boat to keep the rig reasonably straight. DO NOT USE A SCREWDRIVER to turn the turnbuckle! Use a wrench.
Be kind to your rigging screws and use wrenches, not screwdrivers.
Once you get the screws loose enough, pull the clevis pin that holds them to the chainplates. Shackle the cap shrouds to the toe rail. This greatly improves the stability of the mast. On my boat, once the rigging screws were loosened all the way, they were just long enough to make it to a shackle on the toe rail. YMMV.
On the J/42 the cap shrouds will just make it to the toe rail if you unscrew them all the way and use a shackle. This is not only a convenient place to park the shroud, but it will also help to stabilize and support the mast.
Now repeat the process for the intermediate and lower shrouds. It is not necessary to shackle them to the toe rail — just tie them off out of the way.
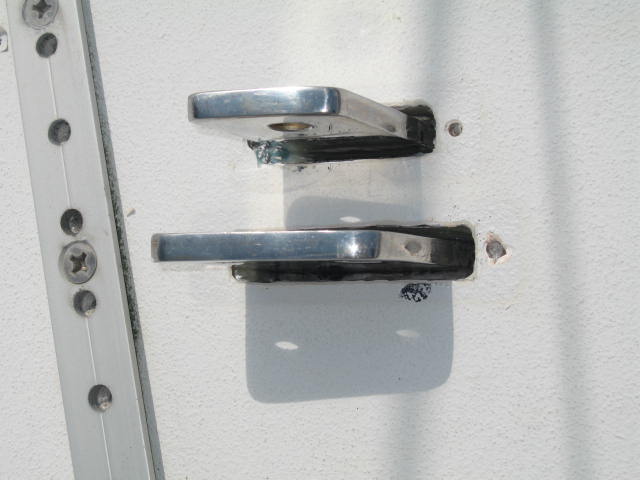
Remove the screws holding down the chainplate covers. Using a flexible putty knife, work your way around the covers, breaking the seal of the caulking. Be careful not to lever too hard or you can bend the covers. A piece of skinny Monel wire can be helpful to saw away at the caulking.
Pry off the deck plate using a flexible putty knife. Be careful not to bend the plate. Using a sawing motion with some monel wire can also be helpful.
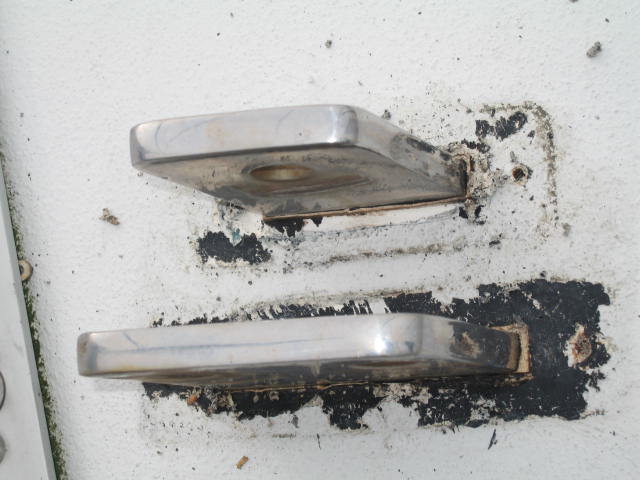
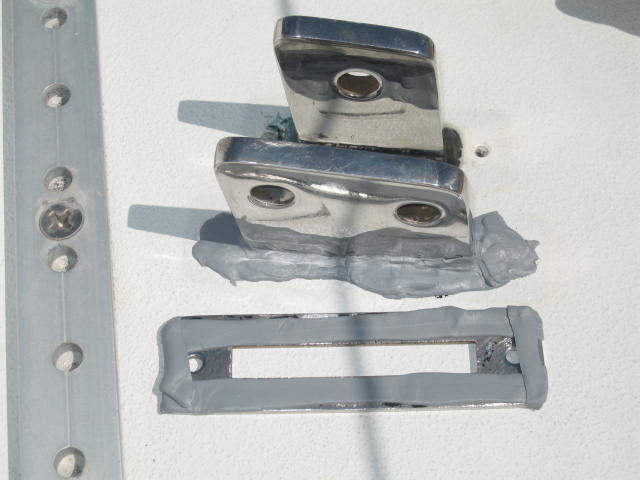
Deck plate off before cleanup.
Go below and remove any trim in the way of the bolts that hold the chainplates in place.
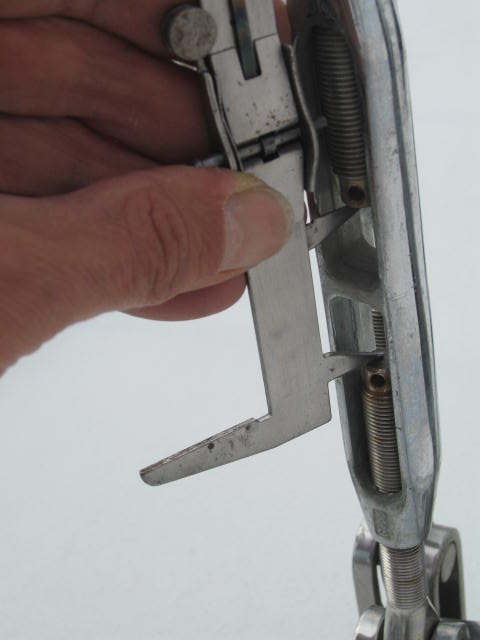
These bolts have a 15/16” head and a 1-1/16” nut. You will need a 15/16” box wrench (to hold the bolt head) and a 1-1/16” socket or box wrench to remove the nut. Despite their intimidating size, they are not torqued very tightly, so they are easy to loosen. I was able to do this step by myself, but it might be useful to have someone else to hold the bolt while you turn the nut.
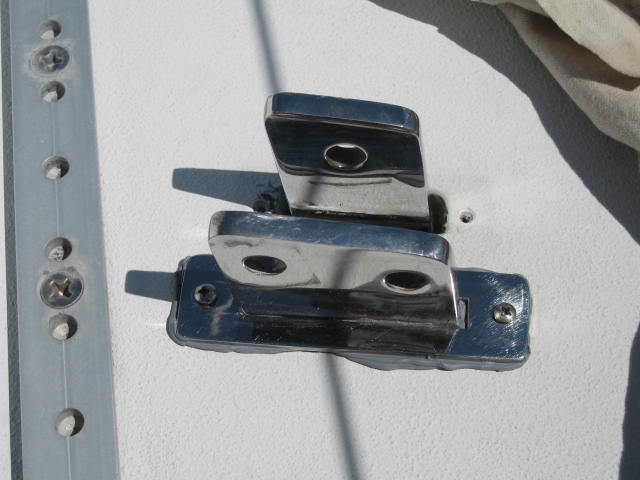
Back on deck, break the bond between the chainplate and the deck by using the flexible putty knife to cut the caulk. Keep working at it; eventually you'll be able to pull the chainplate out. Mark them so you know which goes where.
Using a pocket knife, cut away excess caulk. If you're careful, you should be able to remove almost all the caulk this way. Clean things up using some solvent. I found the product "Release" from BoatLife to work quite well for this.
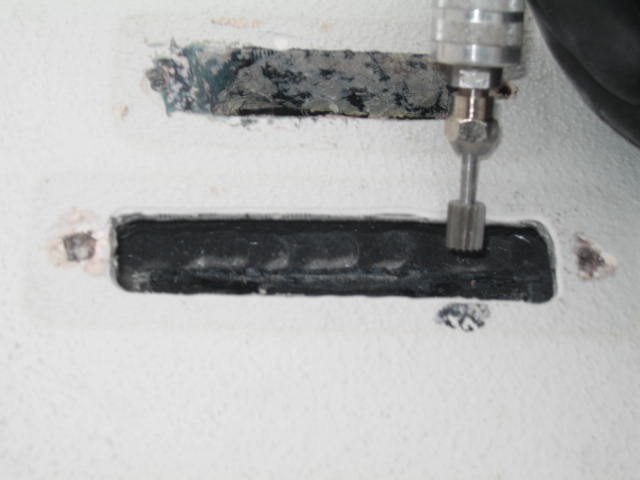
Using a Dremel and a 3/8” router bit, rout away the core between the two fiberglass layers. It will probably take two passes: one with the bit held against the upper laminate, the other with it held against the lower laminate. Pay attention to which way your Dremel turns so you feed it into the turning blade. This step will make a huge mess so it helps to hold the Dremel in one hand and a vacuum cleaner hose in the other, sucking up the flying core material.
Be sure to get the area below the two screw holes as well.
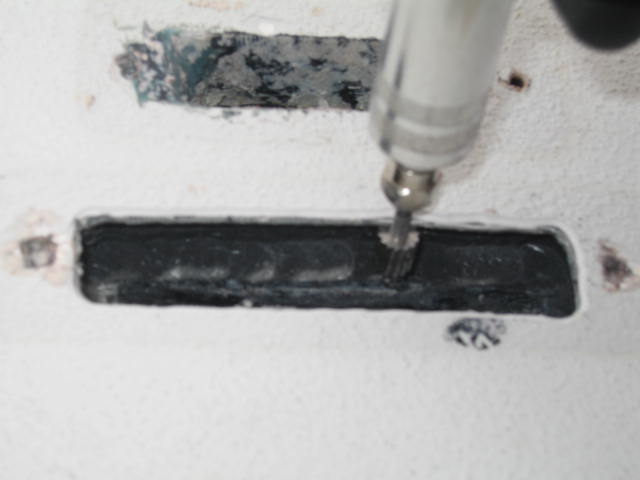
Rout out the chainplate slots using a Dremel and a 5/16" or 3/8" router bit. Unfortunately, this fuzzy picture is all I've got from this step.
Grind a bevel on the edge of the deck.
Bevel the edges of the slots using the router bit or a grindstone. Also, countersink the screw holes (not shown).
Countersink the holes for the cover screws.
Clean everything up, using a vacuum. Clean any left over surface contamination from the old polysulfide using acetone. Be sure to use paper towels to apply it, not rags (which could spread contaminants). Do not use acetone to clean the freshly routed-out insides of the slots (consider any dust left in there to be epoxy filler).
Go below and mask the bulkheads immediately below the holes, in case you accidentally drop some epoxy through the holes. There is no need to do the usual trick of putting duct tape across the bottom of the hole.
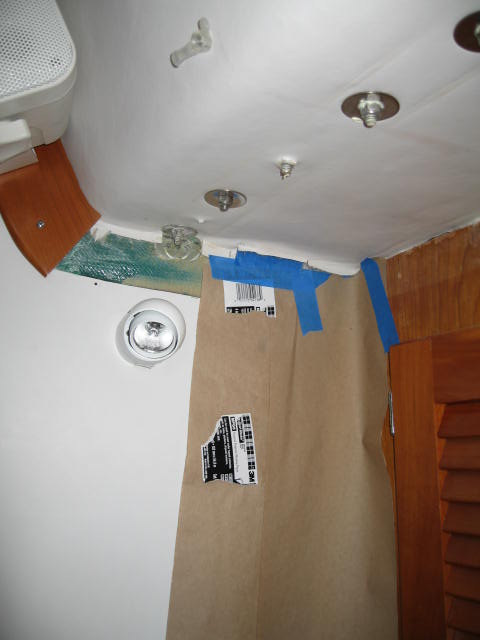
Mask off the interior below the chainplate slots in case you drop any epoxy!
Go back on deck and mask the holes there.
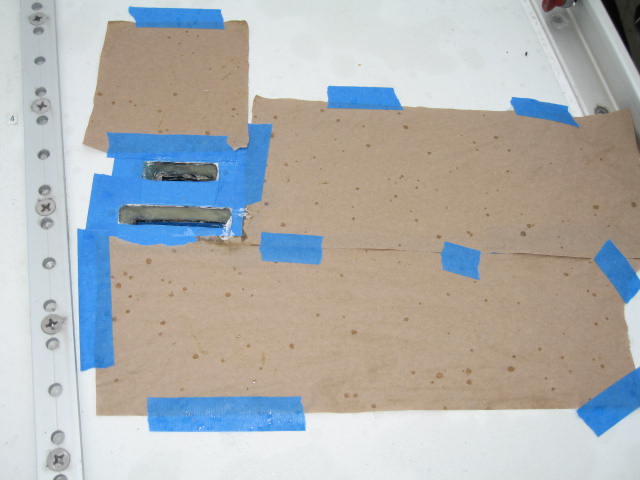
Mask off the deck as well. A few drops of rain were beginning to fall when I was at this step. Unless it's a downpour, they won't hurt anything. I took this picture out of sequence, which explains why you can already see some epoxy in the slots!
Put on a pair of gloves. The following steps are messy, so it's helpful to have a box of gloves so you can quickly change into fresh ones, should you foul them.
Mix some West Epoxy with hardener and enough 406 colloidal silica to give the epoxy a very thick, peanut butter like, viscosity. As for quantity, I found that two squirts of their "mini-pump" was enough resin to do both chainplates on one side.
Using a tongue depressor, push the epoxy into the cavity between the two deck laminates. You may have to use a finger to make sure the epoxy is pushed all the way and there are no voids. Use the depressor to smooth the long sides, and use the modified depressor (the one with a 3/8” edge) to smooth the short sides, of the chainplate slots.
Go below and check things over. In particular, make sure that there is no epoxy sitting proud on the bulkhead side of the slots (it will get in the way when you put the chainplates back in).
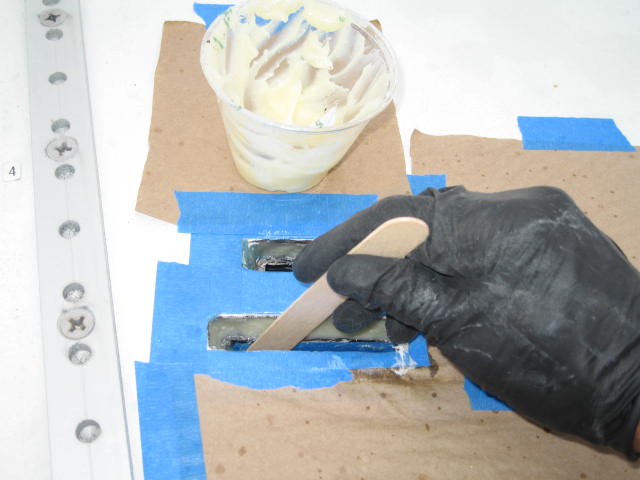
Using a tongue depressor, push the epoxy into the cavity made by the router. Smooth the sides as best you can.
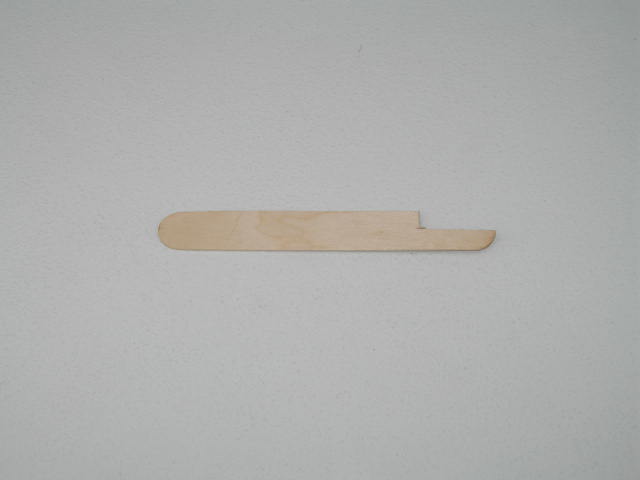
To smooth the short end of the slots it's useful to use a modified depressor.
Inject some epoxy into the deck plate screw holes.
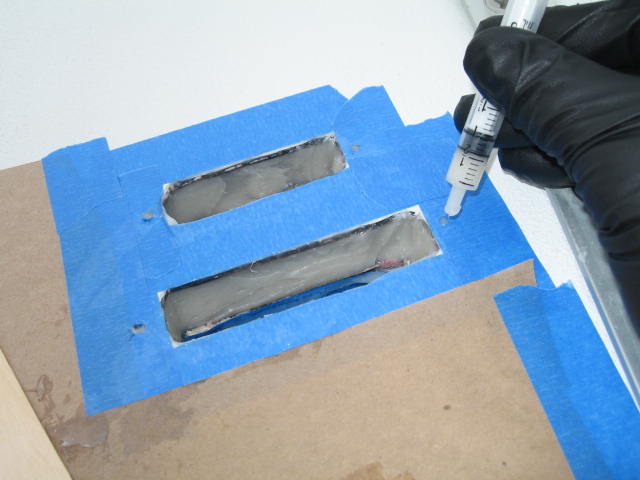
Inject some epoxy into the screw holes, making sure there is no air in there. If you do this step right, the epoxy in the slot will bulge slightly. Push it back into place.
Once the epoxy has kicked (about half an hour) check again to make sure no epoxy has slumped out of place. If it has, you can clean it up with a sharp pocket knife.
While you are waiting for the epoxy to harden, you can clean up the chainplates using Release or Citrisolv. I managed to put some scratch in mine while trying to get them out using the putty knife. I cleaned the scratches up by using 2500 grid Silicon Carbide sandpaper and white polish, applied using a felt wheel chucked into my Dremel.
While you're at it, clean the rigging screws using mineral spirits. After they dry, be sure to use Lanacote or a similar grease to lubricate the threads before reassembling.
The next day, after the epoxy has hardened, clean up the slots, removing any amine blush, using pure water and paper towels. Again, no need to use acetone.
Reinstall the chainplates. I was able to do this step by myself, but having a helper will certainly speed the process.
When you're all done it should look something like this. There should be about a 3/8" gap between the slots and the chainplates. This will be filled in with the bedding compound.
Now it is time to bed the plates. You can use polysulfide caulk again, and it is certainly a very capable bedding compound, but using old-fashioned butyl tape has a lot of advantages. Here's an excellent article by "Maine Sail" on Rebedding Deck Hardware With Bed-It Butyl Tape.
I used butyl tape to bed the chainplates. It's easy to work with, easy to clean up, never hardens, and is tenaciously sticky.
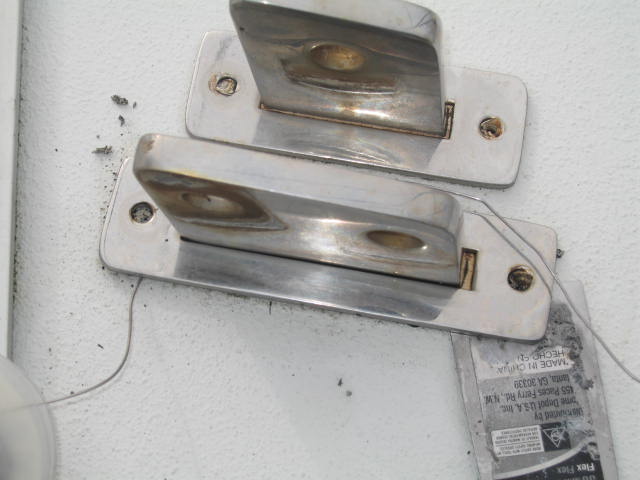
The deck plate back in place. The excess butyl can be cleaned up by cutting it with a plastic scraping tool. Any unsightly residue can then be removed with a cloth dampened in mineral spirits.
The chainplates after cutting the excess butyl off.
The finished chainplates after cleaning up with mineral spirts. This picture was taken a year later, so things aren't so shiny anymore!
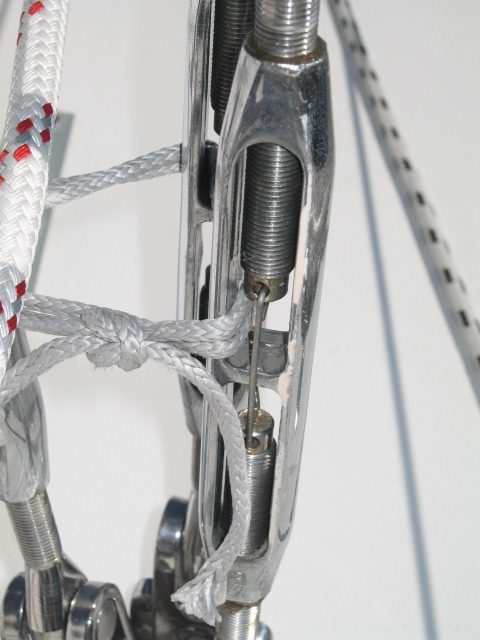
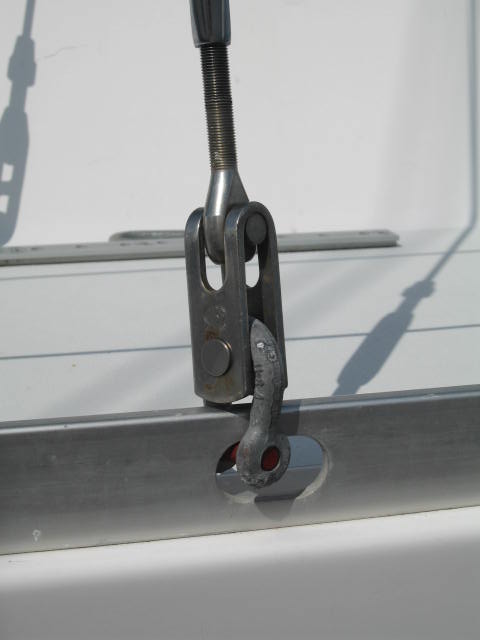
Instead of using cotter pins to secure the rigging screws, I used a piece of 3/32" stainless steel rod, bent in a staple shape. There is nothing for a sail to snag on, plus they are easier to pull should the spar come down.
When the boat is close hauled, I have to run my jib sheets through the shrouds. The piece of spectra line is to keep the sheet from dropping down into the V at the bottom and getting jammed.